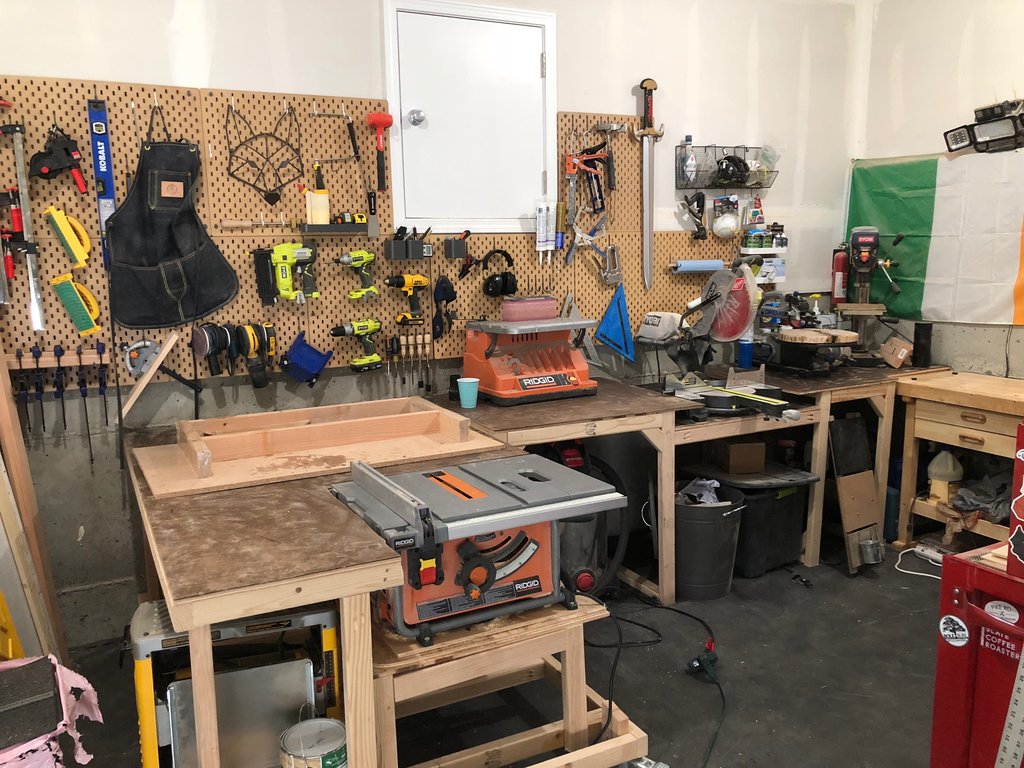
 Whether woodworking is a new hobby or a source of income — or both — you can create a workshop right in your home with a little preparation and the right gear.
It all starts with defining your space, listing what you need, and making room for your personal sanctuary. This step-by-step guide will help you streamline the whole process so you can dive right into making your first piece of furniture or decor.

Defining Your Home Workshop (And Finding Space for It)
Before you start dragging in heavy-duty tools and installing pegboards on the walls, ask yourself:
- What are the biggest projects I’ll work on in this room?
- How often will I be in here?
- What do I need to pull this off?
Your answers to those questions will help you create the blueprint for the perfect home workshop.

List What You Need
Create two lists of the things you need for a great workshop — one for tools and accessories, and one for functional components.
Your tools and accessories list might look like this:
- Stationary power tools. These woodworking tools — like your jointer, band saw, and wood lathe — will become permanent fixtures in your studio, so they’re among the most important to account for when you’re developing your plans.
- Your workbench. Will you need a full-sized workbench, or will something smaller do? Are you building your own workbench, and if you are, can it double as a storage space?
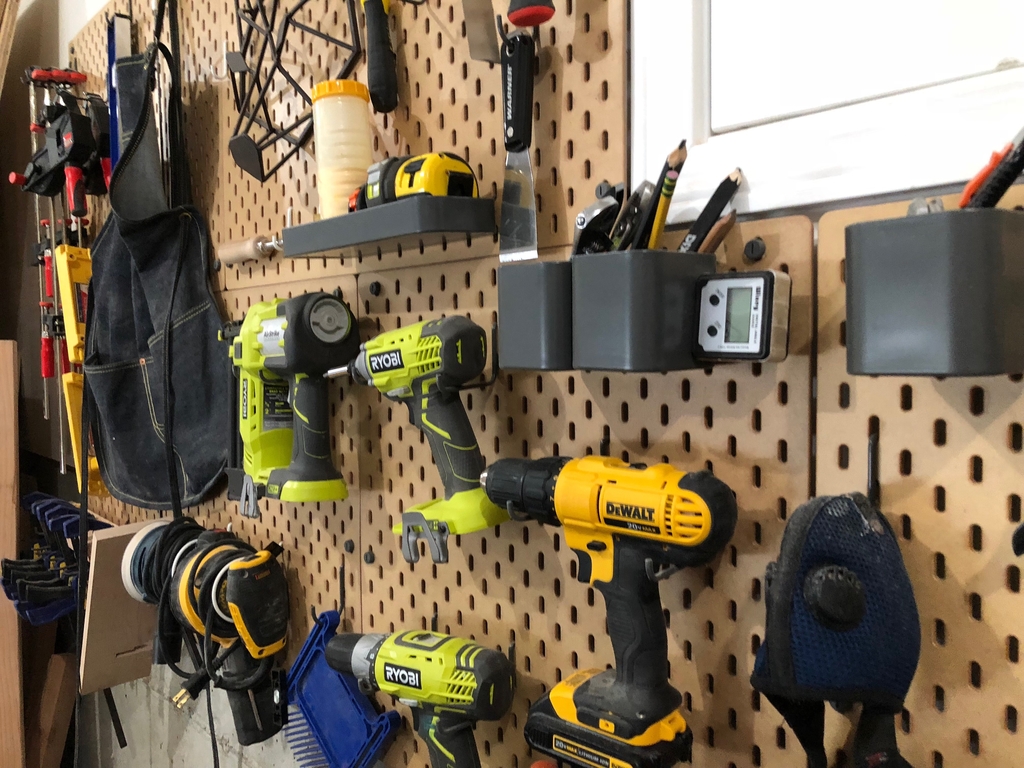
- Storage for hand tools and fire extinguishers. There are plenty of options for storing your gear, including hanging storage and pegboard, and now’s the time to start thinking about it. Make sure have the essentials covered — a good drill, hand planes (block plane, bench plane, jack plane, etc.), combination square, and your various saws chief among them.
- Shelving for materials. It wouldn’t be much of a woodshop if you didn’t make room to store wood so be sure to create a shelving system that will allow you to easily access whatever wood you need for a project, be it oak, rosewood, mahogany, etc.
Your list of functional components – the standards that your workshop needs to meet – might look like this:
- A big enough door for large pieces and projects. You wouldn’t be the first person to build something too big to get out of a room, but do you really want to join those ranks?
- Adequate lighting. Fine-tuning the details with a veneer saw requires you to be able to see – and so does operating a table saw, so make sure you have enough lighting to be able to reliably see what you’re doing.
- Plenty of electrical outlets. You need enough outlets for power tools, your radio, and extra lamps.
- Ventilation. Sawdust and paint or stain fumes require safe passage out of the room (and preferably not through your HVAC system, where they’ll get recycled through the house).
- A moderately high ceiling. While you may not build projects so large that you’ll need an 8-foot ceiling, what happens when you need to flip over an 8-foot board? Make sure your ceiling is high enough to let you work comfortably.
- A locking door. Curious kids and pets don’t belong in your workshop when you’re not there, so a locking door is a must-have.
All these requirements can help you zero in on the perfect location for your home workshop, but if there’s no way you can fit it inside your home, you can use the She Shed concept and build your private enclave in the backyard.
 Pen to Paper: Sketch Your Space
Grab a stack of graph paper and sketch out your total workspace to scale, using one block per square foot of the room or space you’re using. Cut out scaled cutouts of stationary tools, your workbench and the storage solutions you plan to use and experiment with different arrangements centered on a work triangle.
Pro tip: Plan for a wall-mounted TV, a radio or speakers in your space if you’re used to working with media playing in the background.
What is a Work Triangle?
A work triangle makes it easier to work on projects in your space. The idea is that you’ll spend the majority of your time at one of three areas — your stationary power tools, your storage, or your workbench — all of which correspond to one of the three corners of the triangle.
Space-Saving Tricks That Give You More Room to Work
Even if you had unlimited space, it would be more convenient to store your tools and accessories efficiently. Use these space-saving secrets to make the most of every inch of your home workshop:
- Invest in a pegboard. It’s the holy grail of shop organization, and it’s versatile enough that you can put it inside cabinets (or even just cabinet doors), mount it directly to the wall, or hang vertically in a pull-out drawer.
- Build a fold-up workbench, like a Murphy bed. If you’re working on a project that doesn’t require you to sit at your workbench, you can tuck it away and give yourself instant floor space.
- Use ceiling storage. Building slats along the ceiling where you can store clear bins of infrequently used tools and items can save you floor space while keeping your stuff within easy reach.
- Put in recessed shelves. Removing drywall and putting shelves between studs can provide you with plenty of storage space for smaller items without cutting into your square footage.
- Mount 45-degree-angled PVC pipe to a board. These round storage containers are perfect for thin items – pencils, paintbrushes and other accessories you need but are prone to losing.
Home Workshop Organization
It’s normal to want to group things by type when you’re filling your workshop with all your woodworking essentials, but resist the urge – you can save yourself a lot of effort and make your time in the space much more efficient if you only pay attention to accessibility. Keep everything you use frequently within easy reach of your work triangle and put other things, even if they’re similar in nature to the tools or accessories you’re always using, in out-of-the-way locations.
What Does Your Dream Workshop Look Like?
If you’re flexible enough, you can turn almost any space into your personal workshop. The key is laying it out so it works for you.
Have you created a woodworking shop in your house or backyard? Share your stories in the comments below to inspire others to carve out their own creative spaces.
Alejandra Roca is part of the content marketing team at Redfin Real-Time, a real-estate brokerage. She enjoys writing about home decor and real estate trends. Photos by Fox Mountain Woodworks.
from https://www.woodworkingnetwork.com/red-book/best-practices-guide/how-create-awesome-home-woodshop
No comments:
Post a Comment